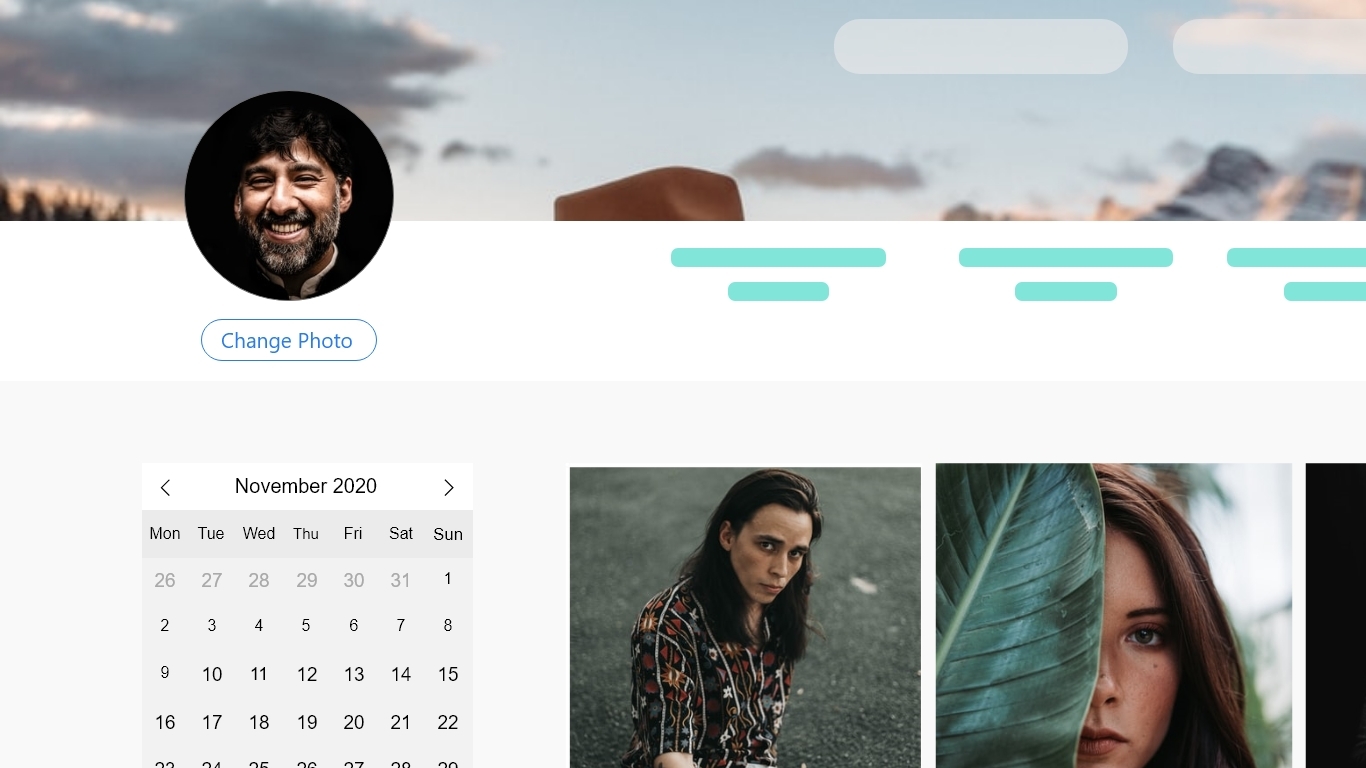
Creating a cool REST profile avatar uploader with Laravel, Vue and Axios.
On this post I'll be demonstrating how you can create a "REST" profile avatar uploader by utilizing VueJs and the axios http client using a Laravel back-end. On top of that I'll demonstrate how you can add a file upload progress to ameliorate the whole feature.
I will assume for the sake of this post that you are familiar with Laravel and Vue environments, if not head over to these links: Vue, Laravel.
Since we will be uploading files, profile images in this case, we first create a disk on Laravel that will hold these files in our project. Head to the filesystem config file and add the following code inside the disks array.
// config/filesystems.php

  'user_avatars' => [
    'driver' => 'local',
    'root' => storage_path('app/public/user-avatar'),
    'url' => env('APP_URL').'/storage/user-avatar',
    'visibility' => 'public',
  ],
In the above code, we added a new disk called "user_avatars" whose root directory will be app/public/user-avatar, and it's public url will be "APP_URL/storage/user-avatar/IMAGE_FILE_NAME".
Create a new folder in the storage\app\public directory where the successfully uploaded avatar images will be stored and name it user-avatar.
Next, create the method that will take care of the files being uploaded. Wherever the controller is positioned, the method should have the following logic:
public function upload_user_photo(Request $request){
  // check if image has been received from form
  if($request->file('avatar')){
    // check if user has an existing avatar
    if($this->guard()->user()->avatar != NULL){
      // delete existing image file
      Storage::disk('user_avatars')->delete($this->guard()->user()->avatar);
    }

    // processing the uploaded image
    $avatar_name = $this->random_char_gen(20).'.'.$request->file('avatar')->getClientOriginalExtension();
    $avatar_path = $request->file('avatar')->storeAs('',$avatar_name, 'user_avatars');

    // Update user's avatar column on 'users' table
    $profile = User::find($request->user()->id);
    $profile->avatar = $avatar_path;

    if($profile->save()){
      return response()->json([
        'status'    =>  'success',
        'message'   =>  'Profile Photo Updated!',
        'avatar_url'=>  url('storage/user-avatar/'.$avatar_path)
      ]);
    }else{
      return response()->json([
        'status'    => 'failure',
        'message'   => 'failed to update profile photo!',
        'avatar_url'=> NULL
      ]);
    }

  }

  return response()->json([
    'status'    => 'failure',
    'message'   => 'No image file uploaded!',
    'avatar_url'=> NULL
  ]);
}
A recap of the upload_user_photo() method: we first look if the image was sent in the form data, followed by deleting the existing user image from the user_avatars disk. Next, we generate a random name for the image using the helper method random_char_gen() . We then store the uploaded image inside the user_avatars disk and update the user's avatar column with the new public image url. Finally the method returns a respective json response.
Also, add a new post route on which the image will be posted through.
// routes/web.php
Route::post('upload_avatar', 'Controller@upload_user_photo');
Tuning into the javascript side, start by installing [axios] (https://github.com/axios/axios) to manage the http requests.
$ npm i axios
Create the AvatarImageComponent.vue Vue component and place the following code in it.
<template>
  <div>
    <div class="avatar">
      <img :src="avatarImageUrl">
      <input type="file" ref="photo" accept="image/*" @change="updateAvatar()">
    </div>

    <div v-if="showUploadProgress">
      Uploading: [[ uploadPercent ]] %
    </div>
  </div>
</template>
<script>
  import axios from 'axios'
  export default {
    name: "AvatarImageComponent",
    props: ['avatarUrl'];
    data() {
      return {
        uploadPercent: 0,
        avatarImageUrl: "",
        showUploadProgress: false,
        processingUpload: false
      }
    },
    delimiters: ["[[", "]]"],
    mounted(){
      this.avatarImageUrl = this.avatarUrl
    },
    methods: {
      updateAvatar(){
        if(this.$refs.photo){
          this.showUploadProgress = true
          this.processingUpload = true
          this.uploadPercent = 0
          let formData = new FormData()
          formData.append('avatar', this.$refs.photo)
          axios.post('/upload_avatar', formData, {
            onUploadProgress: (progressEvent) => {
              this.uploadPercent = progressEvent.lengthComputable ? Math.round( (progressEvent.loaded * 100) / progressEvent.total ) : 0 ;
            }
          })
          .then( (response) => {
            this.avatarImageUrl = response.data.avatar_url
            this.showUploadProgress = false
            this.processingUpload = false
            this.$emit('imageUrl', response.data.secure_url )
          })
          .catch( (error) => {
            if(error.response){
              console.log(error.message)
            }else{
              console.log(error)
            }
            this.showUploadProgress = false
            this.processingUpload = false
          })
        }
      }
    }
  }
</script>
What happens in this component is that, when the onchange event is triggered in the file input, the selected image is wrapped in a formData object and posted to the server through the image upload route. We listen to axios's progress event and update the uploadPercent. On a successful image upload event, we update avatarImageUrl subsequently updating the avatar image being displayed, on failure, we log the error output without changing the current profile image being displayed.
Try implementing this and feel free to ask questions.